Custom Patterns Made Less Scary
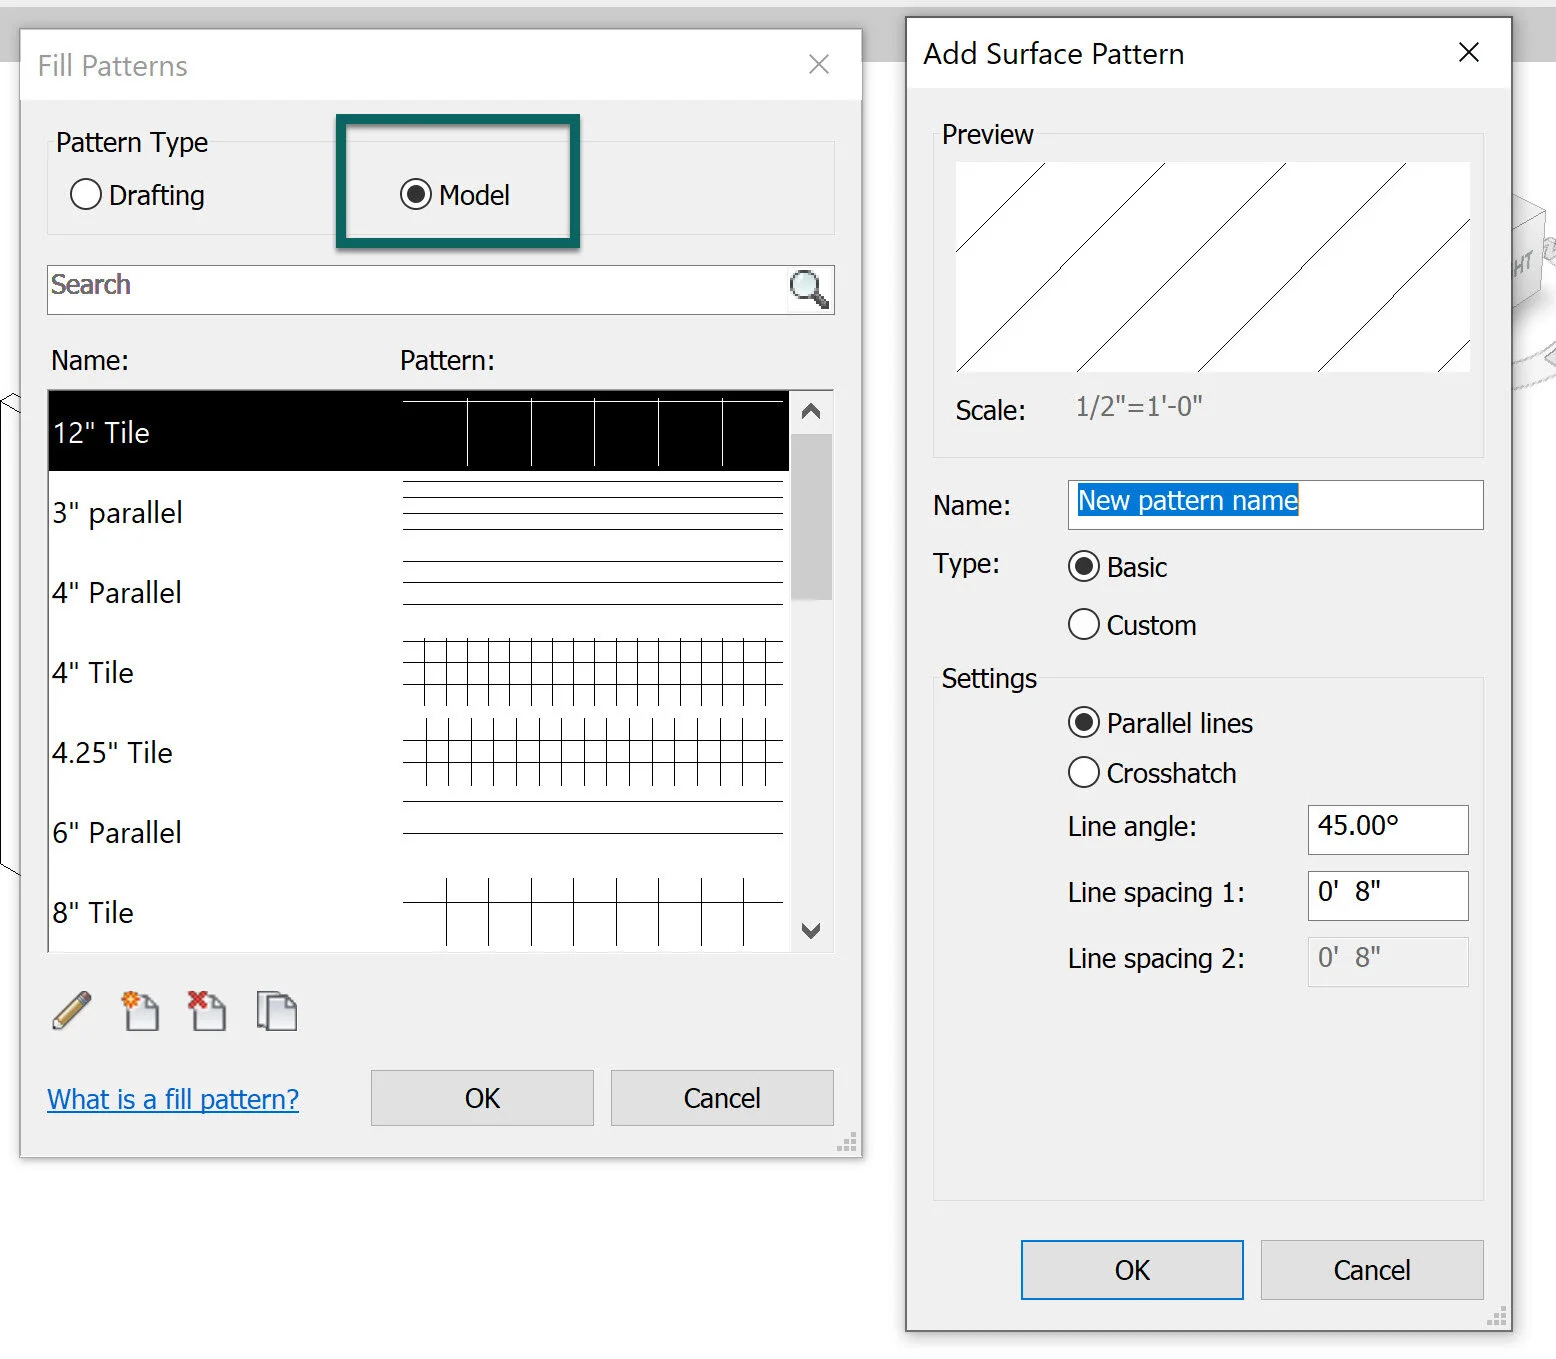
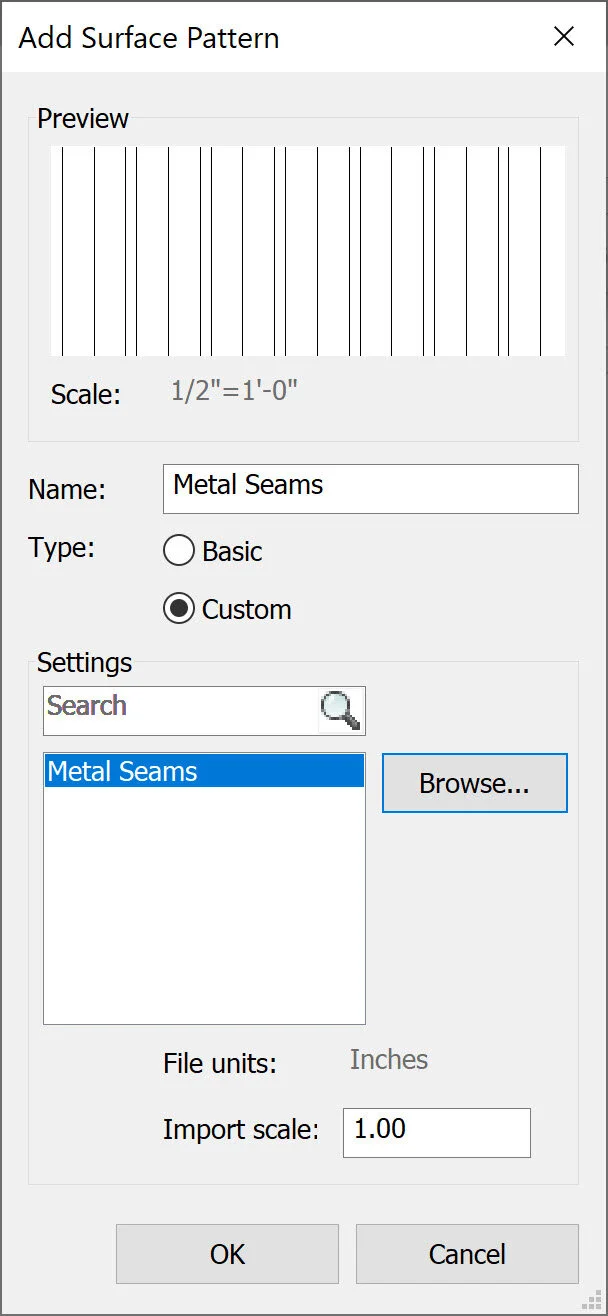
When faced with the challenge of needing a geometry that would be too intense to model (time, file size, value), but still needs to be represented, I find myself turning to Custom Model Patterns.
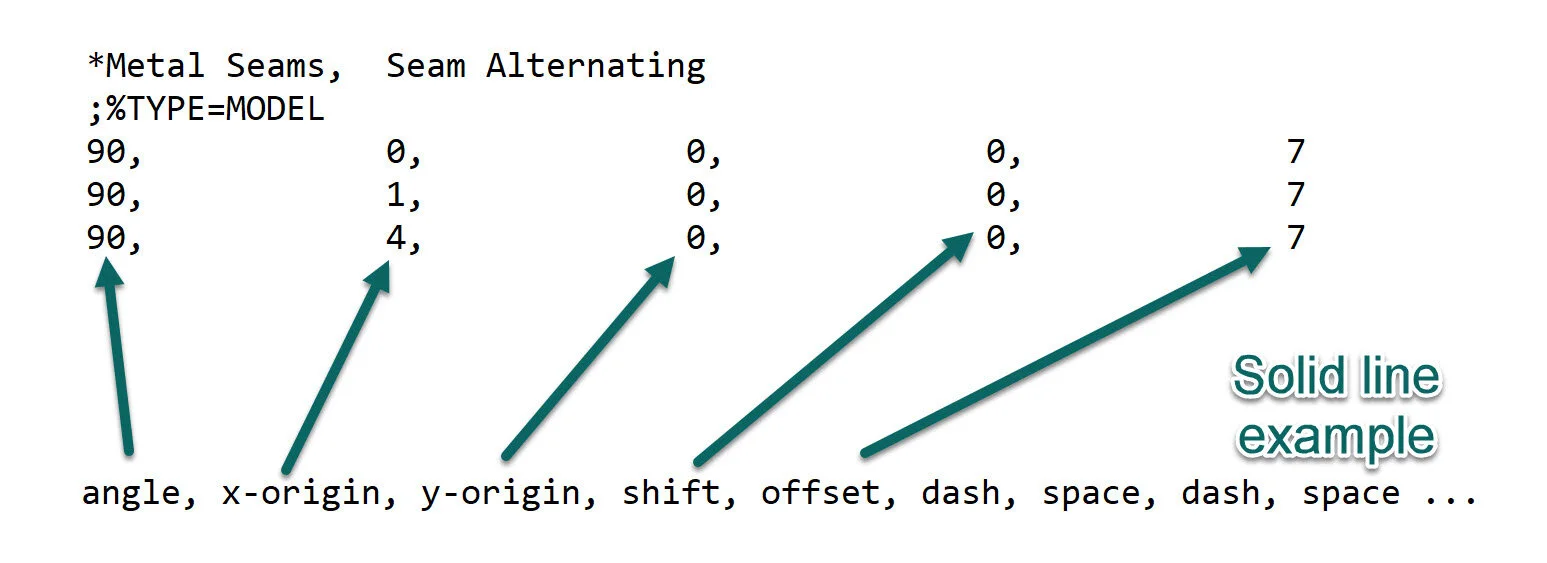
This is actually a huge accomplishment for myself personally. Maybe the jargon in the Text file and blog post from Autodesk makes sense to you, but it was worse than Klingon for me. Enter this blog post. Hopefully more visual learners will understand patterns more easily or those who have not ever made one will find this easy to follow.
Since I learned custom patterns, Autodesk came out with this much better article.

Is this even English!?
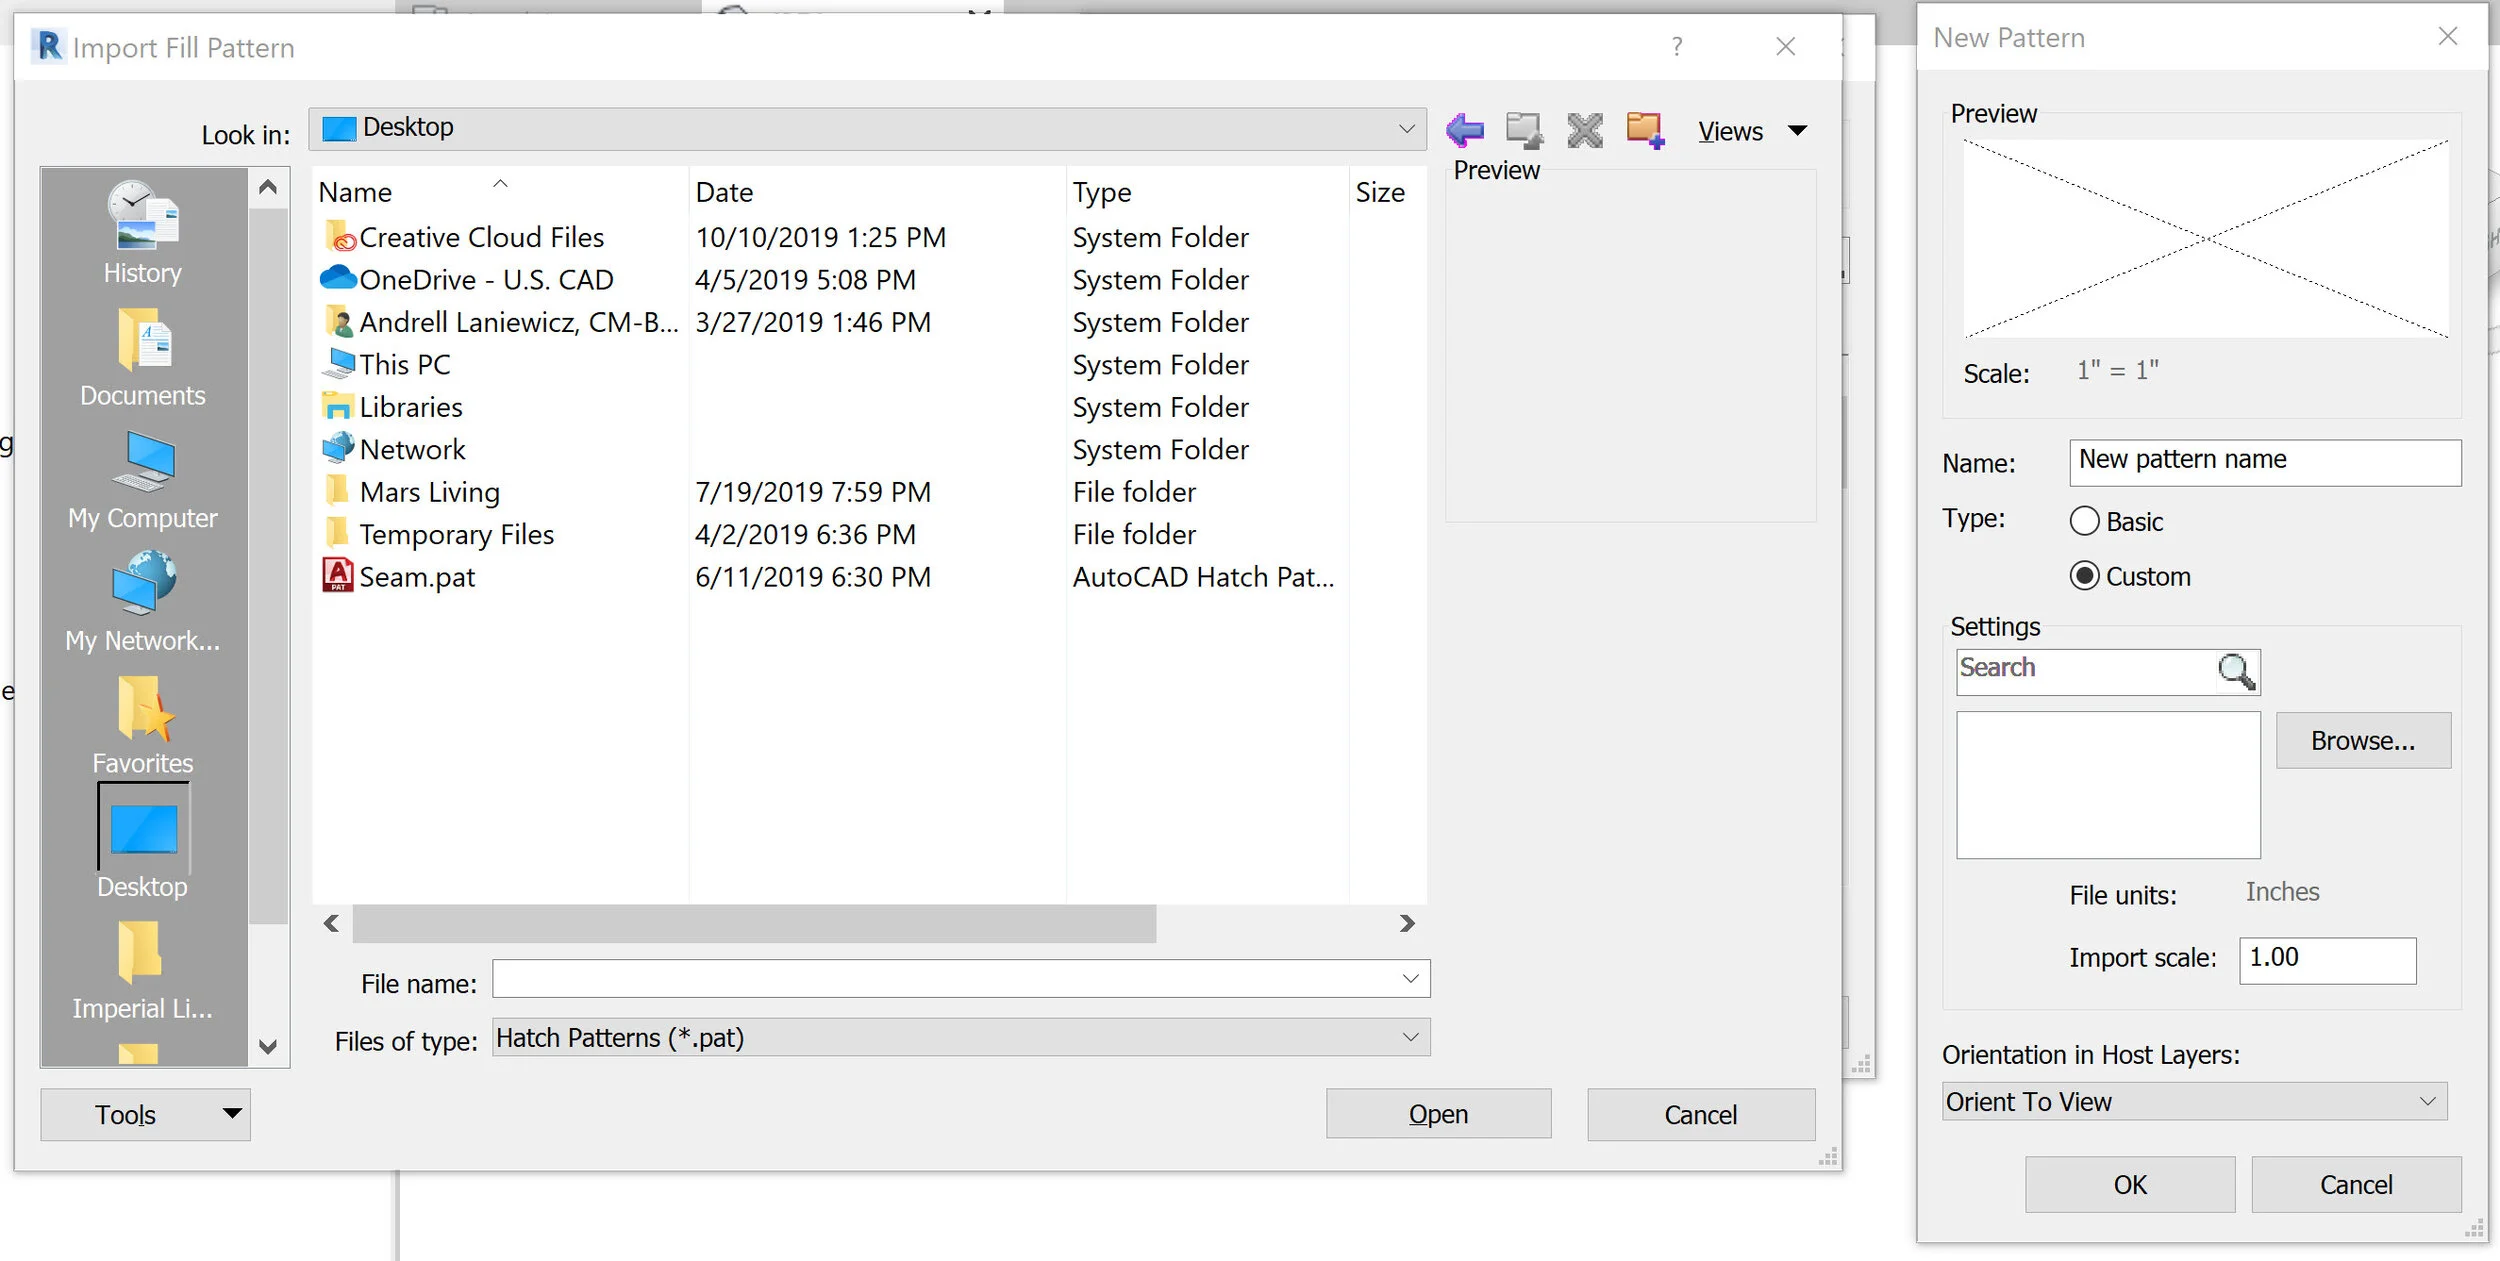
Find the .PAT file to start with here: %ProgramFiles%\Autodesk\Autodesk Revit 2020\Data


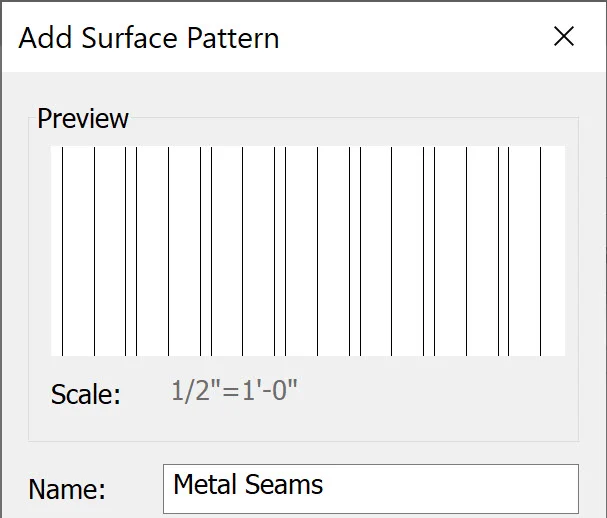
The color in the example would still be changed to match the IRL wall, but you can see the pattern.
I hope between this and the better article from Autodesk that Custom Patterns are less Spooky now!

